Categories > Guides and Tips
A Complete Guide to The Iceline Trails

- Time Zone
- Things to Know
- How to Get to Iceline Trails
- By car or camper van:
- Best Time to Go
- What Should You Prepare and Keep in Mind When Hiking in The Iceline Trail
- How to Hike at Iceline Trail
- Step 1. Head to the Trailhead
- Step 2. Begin Your Ascent
- Step 3. Experience the Iceline Trail
- Step 4. Explore the Iceline Summit
- Step 5. Descend into Little Yoho Valley
- Where to Stay near Iceline Trails
- Lake Louise Inn
- Emerald Lake Lodge
- Mountaineer Lodge
- Fairmont Chateau Lake Louise
- Post Hotel & Spa
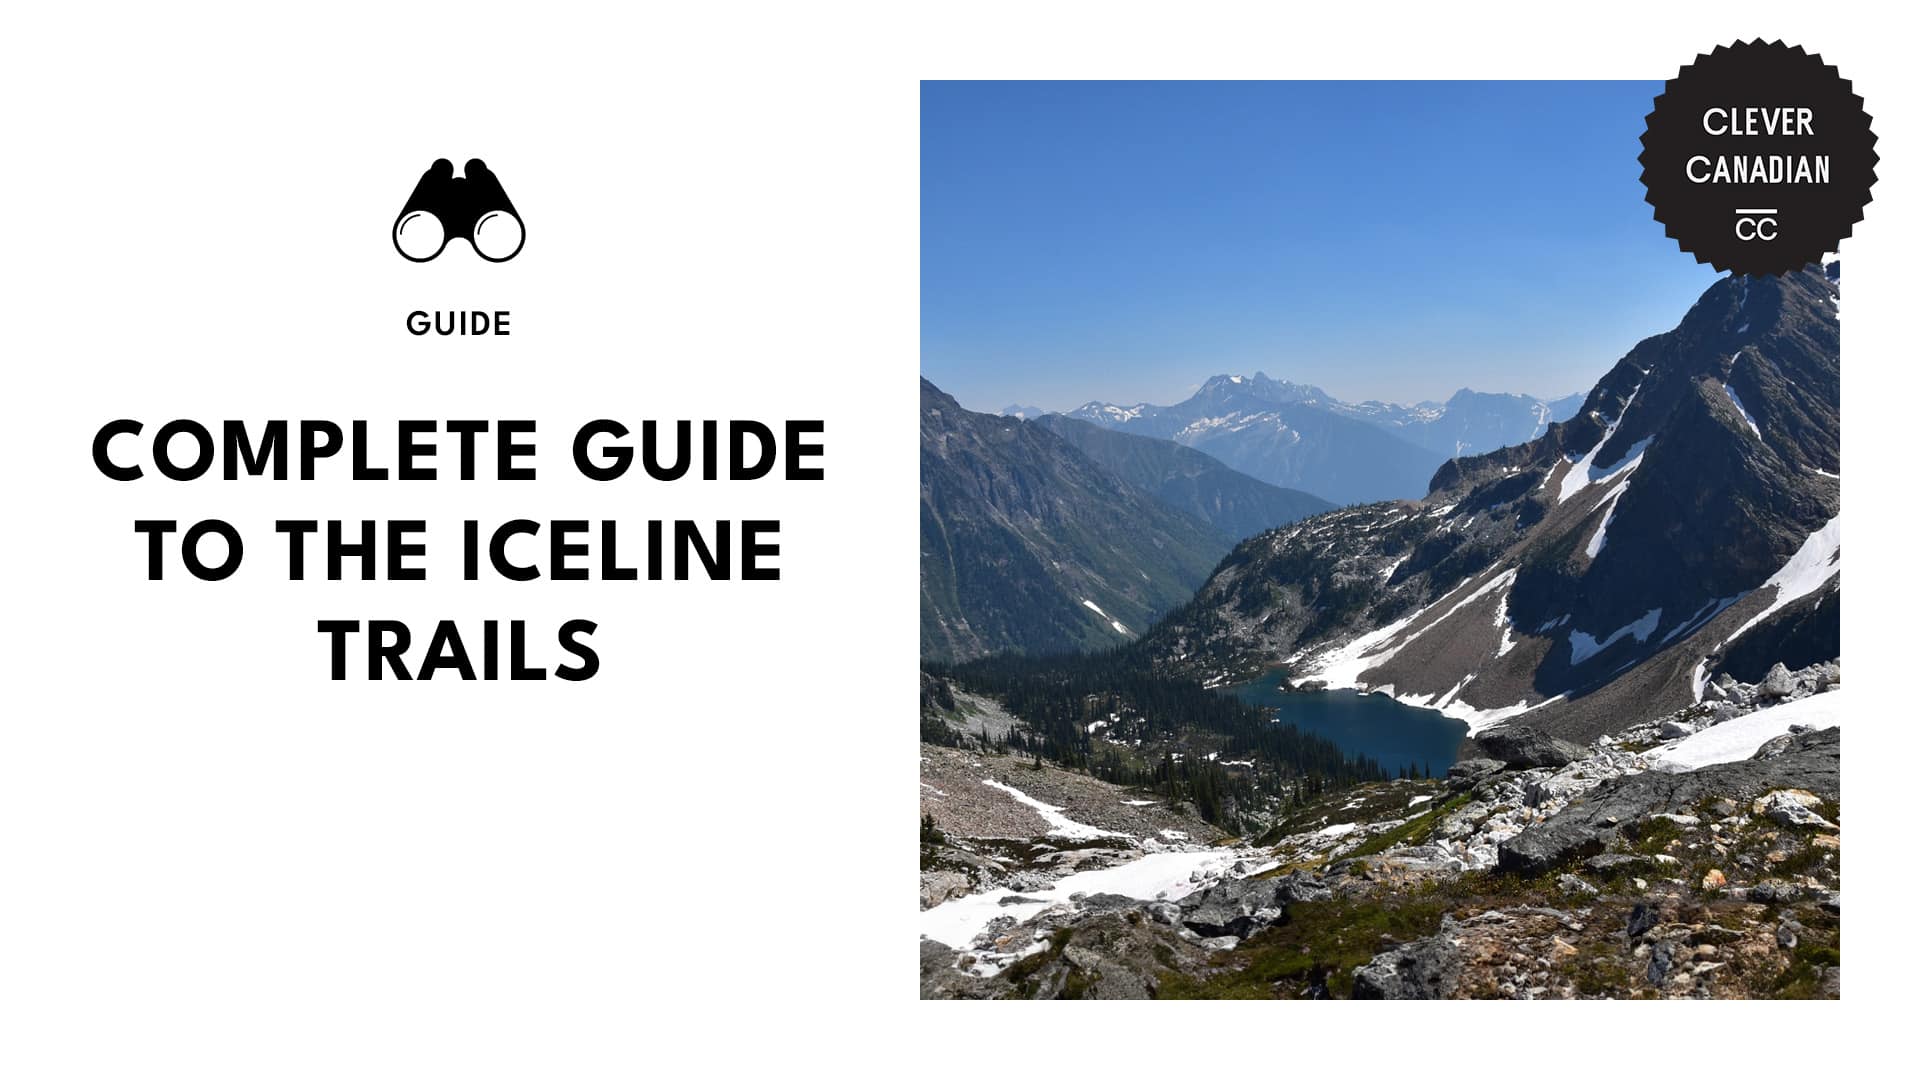
The Iceline Trail in Yoho National Park is one of our favorite destinations for hiking and sightseeing! Why, you ask? Well, it’s due to amazing views and safe slopes that give the best look of the mountain regions of Canada!
So if you’re planning on a trip (which you should if you love hiking) to the Iceline Trails, we’ve got something for you – our full guide to get you started on this amazing trip!
Time Zone
Canada Standard Time (GMT-5)
Things to Know
Currency: Canadian Dollar (CAD)
(Check the current exchange rate)
Language: English
Calling Code: +1
Address: Columbia-Shuswap, BC V0A 1G0, Canada
How to Get to Iceline Trails
Media credits lorifitfrog
By car or camper van:
To start your hiking adventure in the Iceline Trail Head, follow these general steps. Keep in mind, the starting point is typically the town of Field, British Columbia, or the Lake Louise area in Alberta, due to their proximity to Yoho National Park where the Iceline Trail is located.
From Lake Louise, Alberta:
- Head west on the Trans-Canada Highway (Highway 1) towards Field, British Columbia.
- After crossing into British Columbia and entering Yoho National Park, look for signs for Takakkaw Falls.
- Turn right onto Yoho Valley Road, which is the turnoff for Takakkaw Falls. This road may be closed seasonally due to snow, generally from October to June.
- Follow Yoho Valley Road to its end, where you will find the parking area for Takakkaw Falls. The Iceline Trail starts near here.
From Field, British Columbia:
- Take the Trans-Canada Highway (Highway 1) east towards Lake Louise.
- Look for the Takakkaw Falls turnoff to your left, onto Yoho Valley Road.
- Follow Yoho Valley Road all the way to the end, where you’ll arrive at the Takakkaw Falls parking area. The trailhead for the Iceline Trail is nearby.
Best Time to Go
The best time to go hiking in Iceland is in the summer, from June to August. This time has warmer weather and long days, perfect for enjoying the trails.
July is especially good because you can hike under the midnight sun. It’s better to avoid winter for hiking because it’s very cold and there’s not much daylight.
What Should You Prepare and Keep in Mind When Hiking in The Iceline Trail
When you’re preparing for hiking in Iceland’s trails, it’s essential to pack wisely and keep a few key tips in mind for a safe and enjoyable experience. Here’s a bullet list to guide you:
Essentials:
- Map & Compass
- GPS & fresh batteries
- Sturdy, waterproof hiking boots with good ankle support
- Thermal underwear (long sleeve shirts and T-shirts), wool or synthetic
- Light wool or fleece sweater for layering
- Trousers made of quick-drying material like soft-shell
- Windproof, waterproof, breathable jacket with a good hood
- Rain trousers, also windproof, waterproof, and breathable
- Gloves: Two pairs of varying thickness
- Wool or synthetic socks, two or three pairs
- Warm hats, wool or synthetic
Other Gear:
- Backpack (25 – 40L) for extra clothes and food
- River shoes with a good grip for water crossings
- Light sleeping bag
- Towel: lightweight and packable
- Sunglasses & sun protection
- Water container (thermos flask or water bottle)
- Headlamp for nighttime
- Personal first aid kit, including blister care
- Prescription medication and personal health items
- Toiletries: Toothbrush, toothpaste, soap, etc
- Earplugs
What to Wear to Iceline Trails
Your clothing should insulate against cold, be water and wind-resistant, maintain insulating ability when wet, be durable, breathable, light, flexible, and packable. Layering is also very crucial, and here’s our three-layer guide:
- 1st Layer (Base Layer): Wicks moisture away from your body, made of wool or synthetic, not cotton.
- 2nd Layer (Insulating Layer): Manages body heat, with light and medium-weight fleece jackets for daytime and possibly a down or PrimaLoft jacket for stops and evening warmth.
- 3rd Layer (Outer Shell): Protects against wind and rain while allowing moisture to escape. Must be waterproof, windproof, and breathable.
How to Hike at Iceline Trail
| Difficulty | Moderate to Difficult ●●●●○ |
| Distance | 17 km (about 10.5 miles) |
| Elevation | 2,800 ft |
| Duration | 5.5 to 7 hours |
| Trail Type | Loop or Out-and-Back Trail |
| Surface | The trail is steep and follows switchbacks through a forest. As you climb higher, it transitions into a rocky landscape alongside glaciers, with sections that include packed dirt, rocks, and possibly snow and ice patches, depending on the season. |
To hike at Iceline Trail, park at Takakkaw Falls and ensure you have a Parks Canada pass. Choose between a 17.1 km to 21.1 km hike, taking 4 to 8 hours, and prepare bear spray and essential gear.
Here are the detailed steps on how to get to the Iceline Summit and back:
Step 1. Head to the Trailhead
Media credits imagesofcanada
The journey begins at Takakkaw Falls, where parking can be competitive. Early arrival is recommended to secure a spot and start your hike on a good note.
The trailhead’s location at the end of Yoho Valley Road, directly accessible from Highway 1, makes it an accessible starting point for your adventure.
Step 2. Begin Your Ascent
Media credits kurz_chris
The initial part of the hike is a challenging climb through forest switchbacks, offering beautiful views of Takakkaw Falls as a reward for your effort. This section is steep and serves as a good warm-up for what’s ahead, with trail signs guiding you along the way.
Step 3. Experience the Iceline Trail
Media credits lorifitfrog
After conquering the ascent, you’re greeted by the iconic views of the Iceline Trail. This relatively flat section showcases the stunning beauty of the Canadian Rockies, with panoramic views of snow-capped mountains, glaciers, and turquoise alpine lakes.
The higher you go, the better the view gets! Just be careful as you reach top elevation as the altitude can get pretty windy.
Step 4. Explore the Iceline Summit
Media credits niklas.christl
If you’re seeking even grander views, a detour to the Iceline Summit is highly recommended.
Though it involves a steep climb, the effort is rewarded with 360-degree vistas of the surrounding landscape. This spot, more than a third of the way through the hike, is popular for lunch breaks, offering a moment of rest coupled with breathtaking scenery.
Step 5. Descend into Little Yoho Valley
Media credits mountainmomyyc
The trail’s descent leads into the lush Little Yoho Valley, contrasting the alpine environment you’ve traversed so far.
This part of the hike is characterized by a gradual decline through a moraine field and alongside the Little Yoho River, with the path winding through forests and past cascading waterfalls like Laughing Falls.
The route offers a serene end to the rigorous hike, eventually flattening out as you near Takakkaw Falls once again.
Where to Stay near Iceline Trails
Lake Louise Inn
Media from lakelouiseinn
Address: 210 Village Rd, Lake Louise, AB T0L 1E0, Canada
Website: http://www.lakelouiseinn.com/
Contact Details: +14035223791
Price: $$
The Lake Louise Inn is great for families and groups because it has big rooms that can fit up to 6 people. More specifically, the hotel offers 2 bedroom suites that have great interior design.
Also, the big windows let you see the magnificent views of Yoho National Park which should keep you excited when you finally hike at the Iceline Trails.
It’s also close to downtown, so you can easily visit places like Prince’s Island Park and cool spots for food and fun. It’s a clean, smoke-free place, making it a comfy stay for everyone.
Pro Tip:
Before hiking, it’s best to exercise so you can prepare your muscles for an extensive walk. Luckily, the hotel has a fitness center that has a lot of equipment like treadmills and weights so you can prepare for your next hike!
Emerald Lake Lodge
Media from emeraldlakelodge
Address: 1 Emerald Lake Rd, Field, BC V0A 1G0, Canada
Website: https://crmr.com/resorts/emerald-lake/
Contact Details: +12503436321
Price: $$$
The Best Western Plus Suites Downtown in Calgary is a practical choice if you’re planning to explore the Iceline Trails or nearby attractions.
Its central location means you’re close to downtown amenities and can easily access outdoor adventures. The hotel’s unique feature is the inclusion of kitchenettes in rooms, which is great for longer stays or if you prefer to make your own meals.
Plus, the added value of free breakfast and parking enhances its appeal. It’s a straightforward, comfortable place to stay without unnecessary frills.
Pro Tip:
Book directly on their website or through the Emerald Lake Lodge International to include free parking in your stay, which can save you $20 right there.
Mountaineer Lodge
Media from mountaineerlodge
Address: 101 Village Rd, Lake Louise, AB T0L 1E0, Canada
Website: https://mountaineerlodge.com/
Contact Details: +14035223844
Price: $$
We found that Mountaineer Lodge is a comfy and friendly spot in Lake Louise, great for those hitting the trails or slopes. There’s a free breakfast which is perfect to start a great day of adventures.
The rooms have handy things like fridges and microwaves, and there’s a hot tub to relax in after a long day. Plus, it’s in a spot where getting around is easy, which I think is super convenient.
And, for those bringing furry friends, it’s pet-friendly. Overall, it seems like a laid-back place to rest up and recharge.
Pro Tip:
Make the most of the shuttle services available. You can leave your car parked at the lodge and use the Parks Canada shuttle service to visit both Lake Louise and Moraine Lake easily and affordably.
Fairmont Chateau Lake Louise
Media from fairmontcll
Address: 111 Lake Louise Dr, Lake Louise, AB T0L 1E0, Canada
Website: https://www.fairmont.com/lake-louise
Contact Details: +14035223511
Price: $$$
What we love about the Fairmont Chateau Lake Louise is its stunning location by the lake and mountains. It’s in a park, so you get amazing natural views.
The hotel itself is big on history and looks classic. For what you’re paying, the hotel goes the extra mile giving special services like carriage horse travel and valet parking.
But in my opinion, the rooms can be a bit small and old-looking considering its hefty price, but it’s not a huge dealbreaker. There’s also been some noise from building work going on. Yet, the views and special touches which makes the prices all the more worth it!
Pro Tip:
Consider booking a room with a lake view for a truly unforgettable experience. The stunning views of Lake Louise and the surrounding mountains are worth the extra cost.
Post Hotel & Spa
Media from posthotelspa
Address: 200 Pipestone Rd, Lake Louise, AB T0L 1E0, Canada
Website: https://posthotel.com/
Contact Details: +14035223989
Price: $$$
The Post Hotel & Spa in Lake Louise is a cozy spot nestled in Banff National Park, surrounded by stunning mountains.
It’s known for its warm atmosphere, history, and offers a mix of rooms, suites, and cabins perfect for a mountain adventure.
The hotel stands out for its dining options, including an award-winning dining room known for excellent cuisine and a wine cellar boasting a vast selection of fine wines. Plus, it has a relaxing spa for unwinding after a day of outdoor activities.
Pro Tip:
To make this luxurious stay more valuable (especially if preparing for a hike), take the Gourmet Package. This comes with a daily breakfast for two and one four course, table d’hôte menu dinner in their amazing dining room!